
Lifestyle
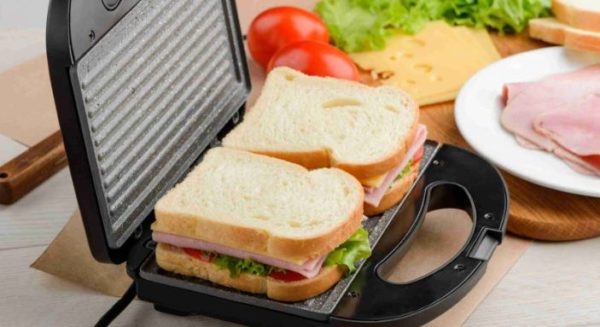
8 easy steps to clean a sandwich maker
When it comes to modern kitchens, we are blessed with many smart appliances that make cooking easy.
However, the other side of the story is that cleaning them and keeping them hygienic is not a cakewalk.
Today, we will tell you how to clean a sandwich maker in 8 easy steps. Scroll down, learn, and thank us later.
Step 1: What all you need
As per experts, one should avoid chemical-based packaged cleaners and prefer to use homemade cleaning agents. One can use baking soda, lemon juice, or vinegar mixed with water to clean the surface.
Step 2: How to clean the sandwich maker
To clean it, close the lid and switch on the sandwich maker for 20-25 seconds. This heating process helps melt the oily residues and loosen the sticky stuff from the surface of the sandwich maker.
Step 3: Use vinegar solution
In a bowl, prepare a solution by mixing 1 tbsp of vinegar with 10 tablespoons of water. After switching off the sandwich maker, unplug it and pour the vinegar and water solution on the plate when it is still hot. Next, close the lid and let it rest for a few minutes.
Step 4: Gently scrub the surface
Use a kitchen sponge and rub the interior of the sandwich maker. Make sure to be gentle and remove the residue, grease, or oil using a kitchen towel.
Step 5: Vinegar or lemon juice and baking soda
For the intricate corners, where sponge and cloth don’t work, use a soft kitchen brush. All you need to do is, dip the brush in the soap solution, gently rub it and use another dry brush to remove all the dirt, grease, and oil.
Step 8: Dry it completely
Once done, use a paper towel or clean kitchen cloth to dry the sandwich maker. Your sandwich maker is ready for the next use.
What’s more?
According to experts, invest in a non-stick cooking spray, while making sandwiches. You can also apply butter or oil on the bread instead of applying it on the surface of the sandwich maker. Always preheat the machine before use, as it prevents the bread from sticking to it.