
Lifestyle
How to make shea butter hair cream
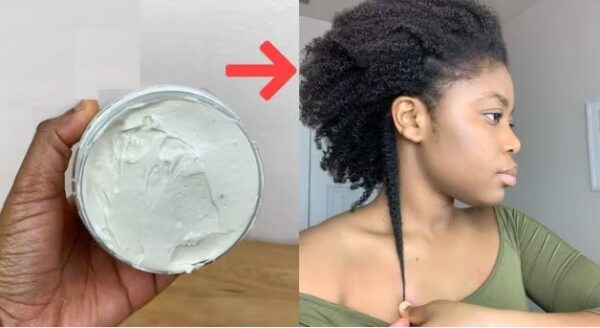
Natural hair girlies all know the struggle when it comes to growing long, healthy natural hair. Dryness, breakage, and split ends can be especially frustrating.
Here’s where a good homemade shea butter hair cream comes in. Shea butter is packed with fatty acids and vitamins that deeply nourish and moisturise your strands, promoting healthy growth and preventing breakage.
Making your own shea butter hair cream allows you to control exactly what goes into your product, avoiding harsh chemicals or ingredients. Plus, it’s a fun and budget-friendly way to pamper your natural hair
Why shea butter hair cream for long hair?
Shea butter is a natural emollient, meaning it locks in moisture and keeps your hair hydrated. It’s also rich in vitamins A and E, which promote scalp health and hair growth.
Additionally, shea butter has anti-inflammatory properties that can soothe an itchy scalp.
While shea butter is a star ingredient, it can sometimes feel a little heavy on its own. To create the perfect creamy consistency and add extra benefits, we’ll be combining it with some other hair-loving ingredients:
- Coconut oil: This lightweight oil penetrates deep into the hair shaft, providing additional moisture and promoting shine.
- Sweet almond oil: Rich in vitamin E, sweet almond oil helps strengthen hair and adds a touch of slip, making detangling a breeze.
- Essential oils (optional): Add a few drops of your favourite essential oil for a delightful scent and potential additional benefits. Lavender oil is calming and promotes relaxation, while rosemary oil is known to stimulate hair growth.
Ready to whip up some hair magic? Here’s what you’ll need:
- Shea butter (raw or yellow shea butter works best)
- Coconut oil (solid, at room temperature)
- 1 tablespoon sweet almond oil
- Essential oils (optional – a few drops)
- Hand mixer (electric or battery-powered)
- Mixing bowl
- Airtight container for storage
Instructions
1. Melt it gently: Using a double boiler or a heat-safe bowl over simmering water, melt the shea butter and coconut oil together. Be patient, it can take a few minutes for the shea butter to melt completely. Make sure the water isn’t boiling, and avoid overheating the oils, as this can damage their properties.
2. Cool it down: Once melted, remove the bowl from the heat and let the mixture cool slightly. You want it to be warm but not hot to the touch.
3. Whip it: Here comes the fun part! Using your electric hand mixer, start whipping the cooled oil mixture at medium speed.
Gradually increase the speed to high and continue whipping until the mixture becomes light, fluffy, and doubled in volume. This will take a few minutes.
4. Add oils and flavour: If using essential oils, add them now and continue whipping for another minute to incorporate them evenly.
5. Scoop and store: Transfer your beautiful whipped shea butter cream to an airtight container. Store it in a cool, dry place for up to 6 months.
Now, let’s talk application
For the best part – using your creation. Here are some tips for applying your shea butter hair cream:
- A little goes a long way: Start with a dime-sized amount of cream and apply it to your fingertips.
- Less is more: Apply the cream to damp hair, focusing on the ends which are most prone to dryness. You can work your way up the hair shaft, but avoid applying too close to the scalp as it can make hair look greasy.
- Seal the deal: After applying the cream, lock in moisture with a leave-in conditioner or hair oil.
- Weekly treat: Use your shea butter cream as a weekly deep conditioner or a daily moisturiser for dry hair.
Growing long, healthy natural hair takes time and dedication. But with consistent use of your homemade shea butter hair cream, combined with a healthy diet and a good hair care routine, you’ll be well on your way to achieving those hair goals.
Bonus tip: This shea butter hair cream recipe can also be used as a body moisturiser for extra hydration.